 “You just can’t understand worry until you have a child of your own.”
Welcome to cold and flu season. Now that flu and many other illnesses are circulating, we want to help you answer these questions: How will I know if my child is too sick? When do I need to worry? When should I call the pediatrician?”
Here is how to approach your own ill child.
First and foremost, trust your parental instincts that something is wrong.
Think about these THREE MAIN SYSTEMS: breathing, thinking, and drinking/peeing.
Breathing:
Normally, breathing is easy to do. It is so easy, in fact, that if you take off your child’s shirt and watch her breathe, it can be hard to see that she is breathing. You should try this while your child is healthy. Normal breathing does not involve effort. It does not involve the chest muscles.
If your child has pneumonia, bad asthma, bronchitis, or any other condition that causes respiratory distress, breathing becomes hard. It becomes faster. It involves chest muscles moving so it looks like ribs are sticking out with every breath: click on the photo in this article to see this. The chest itself moves a lot. Kids’ bellies may also move in and out. Nostrils flare in attempt to get more oxygen. Sometimes kids make a grunting sound at the end of each breath because they are having difficulty pushing the air out of their lungs before taking another breath in. Also, instead of a normal pink color, your child’s lips can have a blue or pale color. Pink is good, blue or pale is bad. Children old enough to talk may actually have difficulty talking because they are short of breath. Any of the above signs tell you that your child needs medical attention.
Thinking:
This refers to mental or emotional state. Normally, children recognize their parents and are comforted by their presence. They are easy to console by being held, rocked, massaged, etc. They know where they are, and they make sense when they talk.
Change in mental state, whether it comes from lack of oxygen/shortness of breath, pain, or severe infection, results in a child who is inconsolable. She may not recognize her parents or know where she is. Instead of calming, she may scream louder when rocked. She may seem disoriented or just too lethargic/difficult to arouse. Being very combative can also be a sign of not getting enough oxygen. In a baby, extreme pain can cause all these signs as well.
Drinking/peeing:
While this varies somewhat depending on the age of the child, most kids urinate every 3-6 hours or so. Young babies may urinate more frequently than this and some older kids urinate perhaps 3 times daily. You should know your child’s baseline. Normal urine reflects a normal state of hydration. If you don’t drink enough, you will urinate less.
If your child has fever, coughing, vomiting, or diarrhea, she will use up fluid in her body faster than her baseline. In order to compensate, she needs to drink more than her baseline amount of liquid to urinate normally. A child will refuse to drink because of severe pain, shortness of breath, or change in mental state, and may go for hours without urinating. This is a problem that needs medical attention. Occasionally a child will urinate much more than usual and this can also be a problem (this can be a sign of new diabetes as well as other problems). Basically any change from baseline urine output is a problem.
A note about fever:
Any infant 8 weeks of age or younger with fever of 100.4 F or higher, measured rectally, requires immediate medical attention, even if all other systems are good. Babies this young can have fever before any other signs of serious illness such as meningitis, pneumonia, blood infections, etc. and they can fool us by initially appearing well.
In older babies and children, we take note of fevers of 101F or higher. Some kids can look quite well even at 104F and others can look quite ill at 101F. Fever is a sign that your body’s immune system is working to fight off illness. In addition to fever, it is important to look at breathing, thinking, and hydration because this will help you determine how quickly your child needs medical attention. A child with a mild runny nose and fever of 103 who can play still play a game with you while drinking her apple juice is less ill than a child with a 101 fever who doesn’t recognize her parents. Read more about fever here.
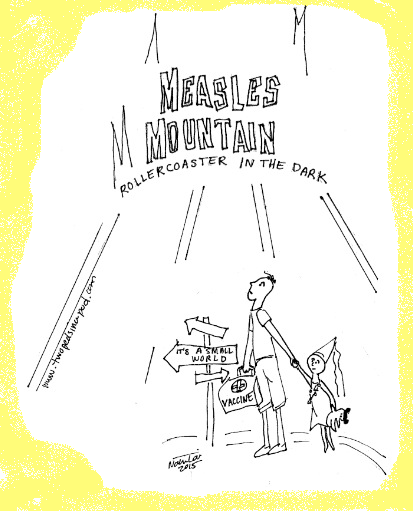
To summarize, any deviation from normal breathing, thinking, or drinking/urinating (peeing) is a problem that needs medical attention, even if no fever is present. In addition, any illness that gets worse instead of getting better is a problem that needs medical attention. Also, remember to let your child’s doctor know if your child is missing any vaccines.
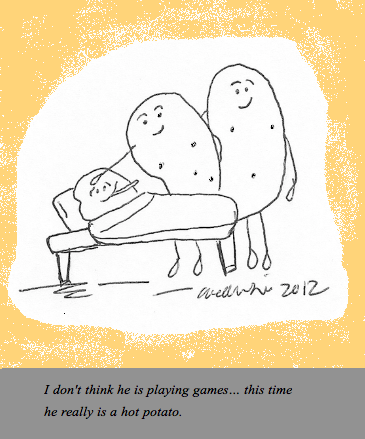
Finally, all parents have PARENTAL INSTINCT. Trust yourself. Ultimately, if you are wondering if you should seek medical advice, just do it. If parents could worry every problem away, no one would ever be sick.
Julie Kardos, MD and Naline Lai, MD
© 2015 Two Peds in a Pod®
updated from original posting on 11/12/2009, revised 2018
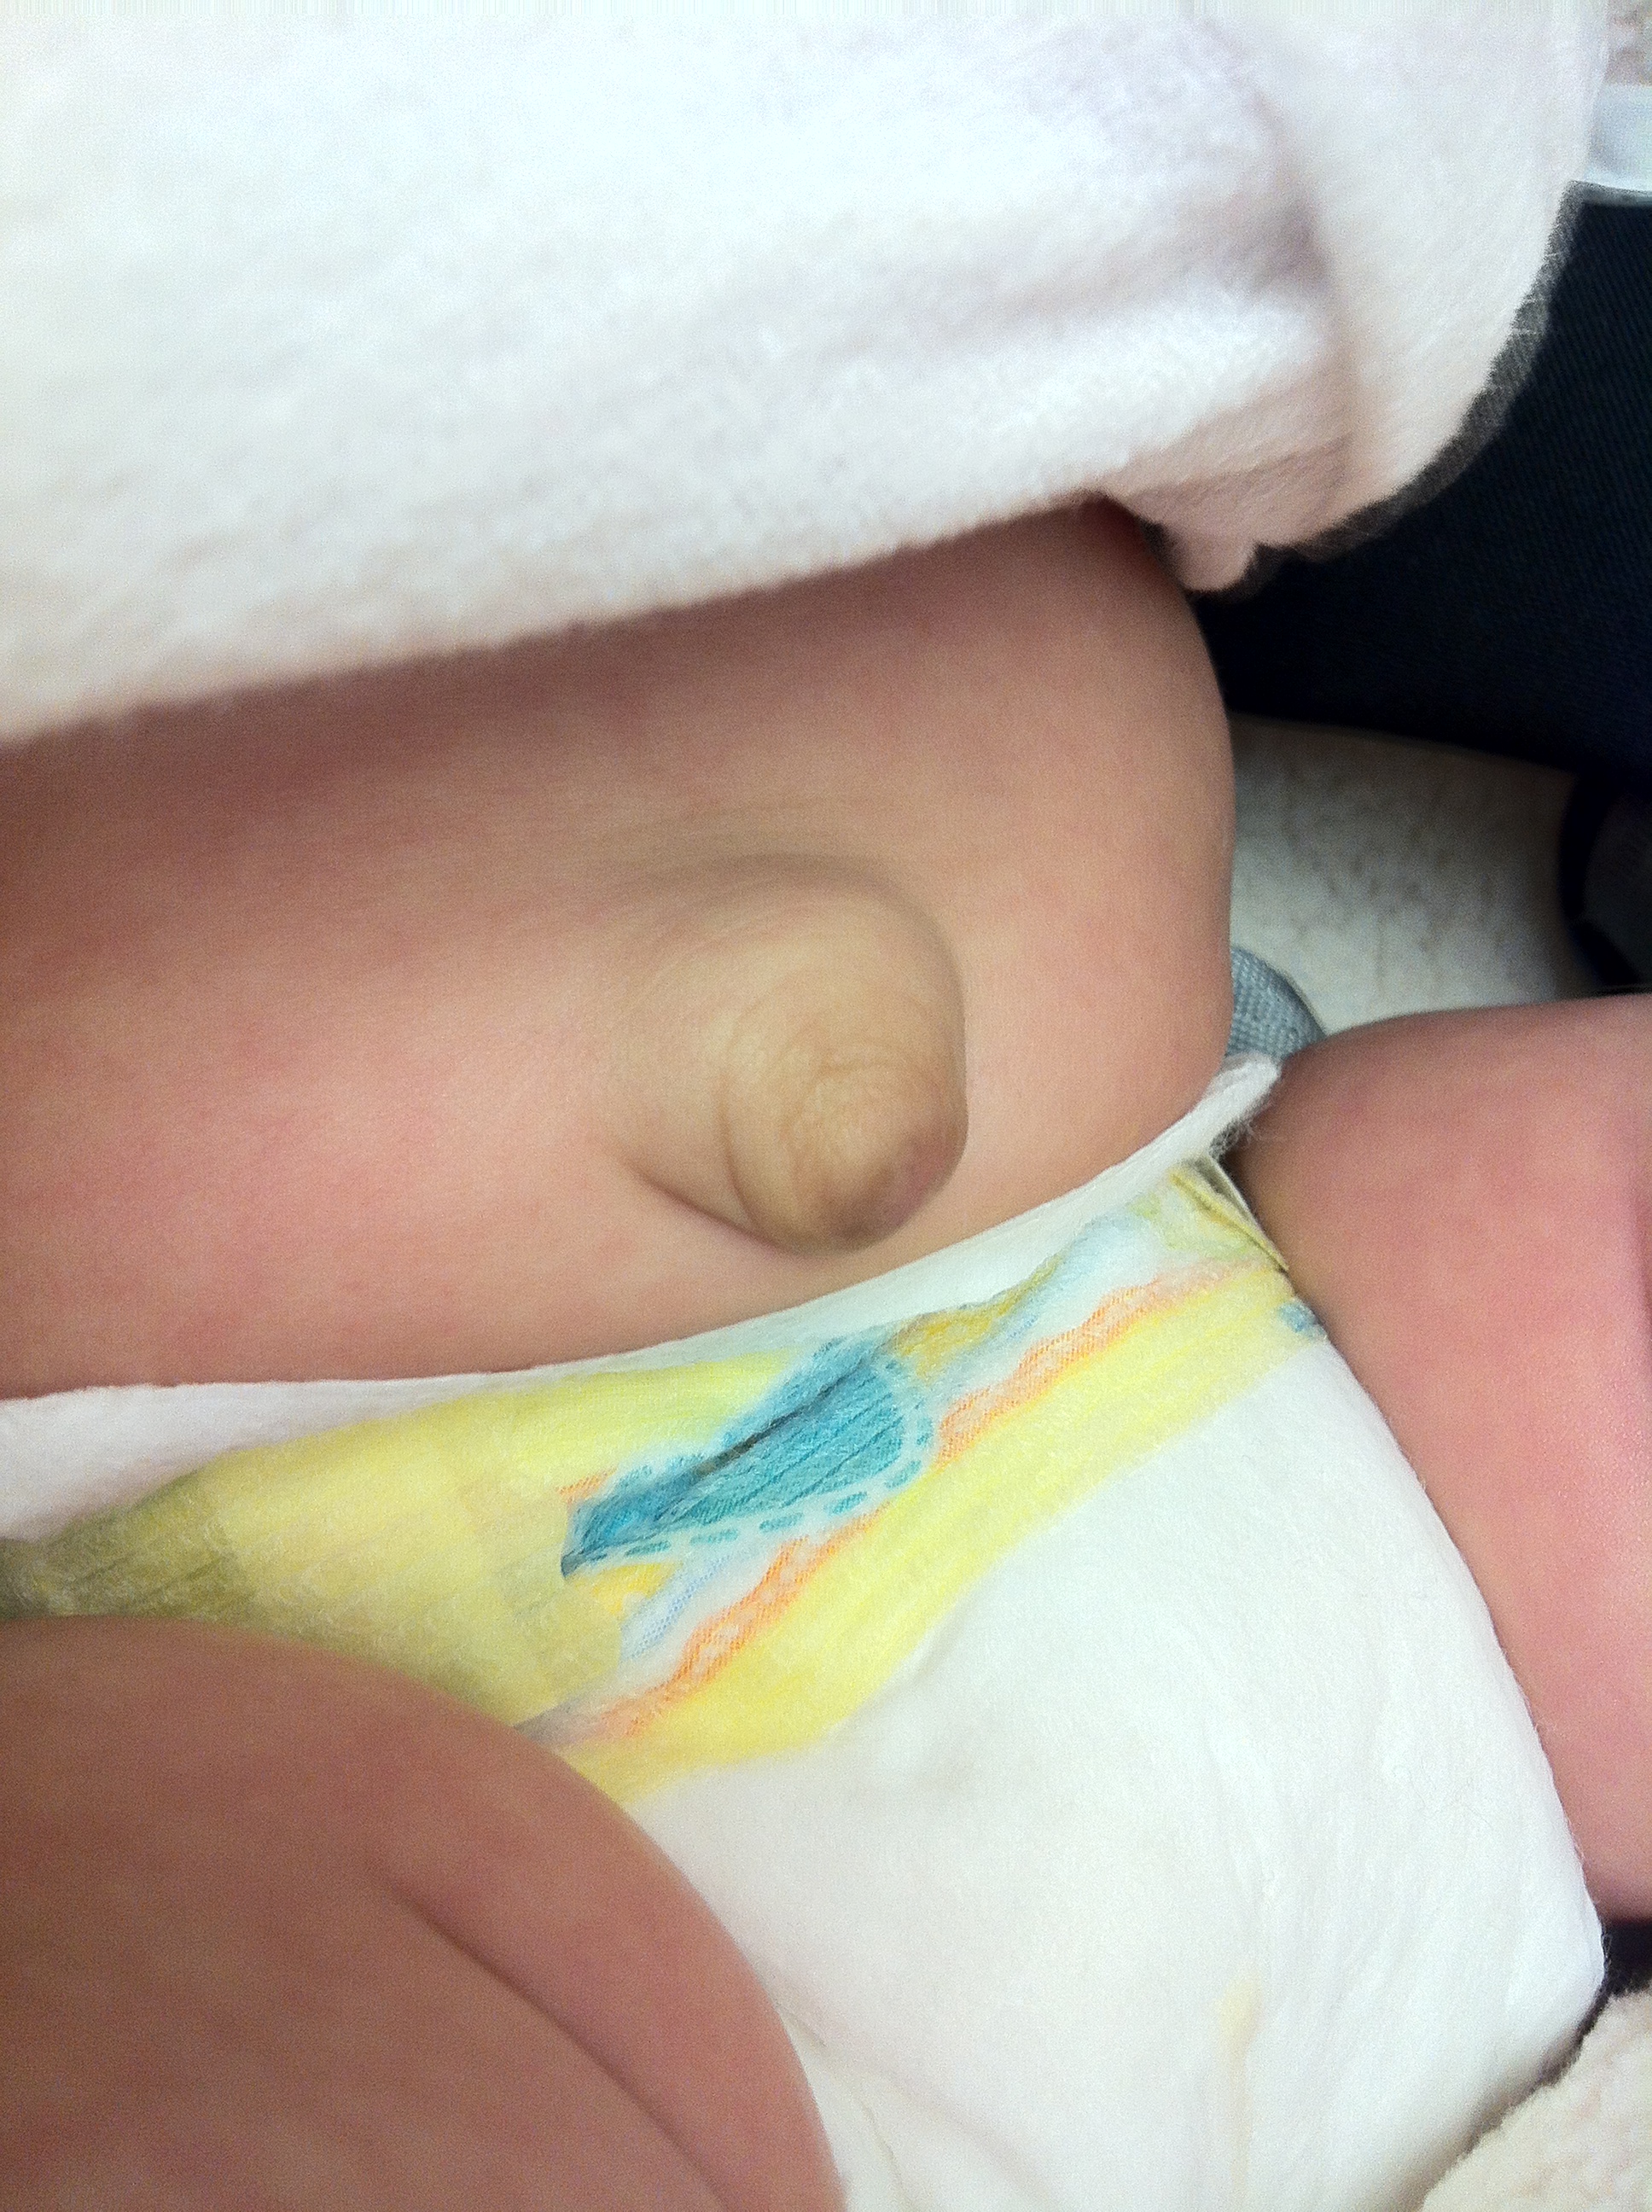

 Yeast rash– This rash is caused by a type of yeast called Candida. The rash typically looks beefy red on the labia or the scrotum. “Satellite lesions” or tiny red bumps surround the beefy red central rash. Babies on antibiotics are particularly susceptible to candidal rashes. Yeast love warm, wet, dark environments so


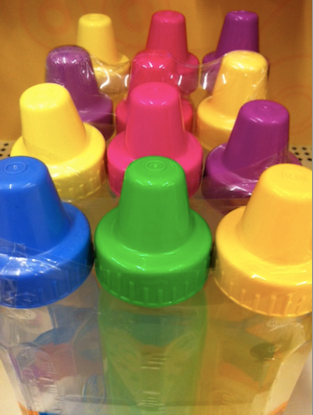 Many families know from the start they plan to formula feed their babies. For some, this decision is based on the mom’s medical condition which precludes breastfeeding. Some base the decision on cultural beliefs, some on personal preference. Still others have tried to breast feed but nursing does not work out.